
Blog post
Swipe! – and other handy ways of navigating within apps
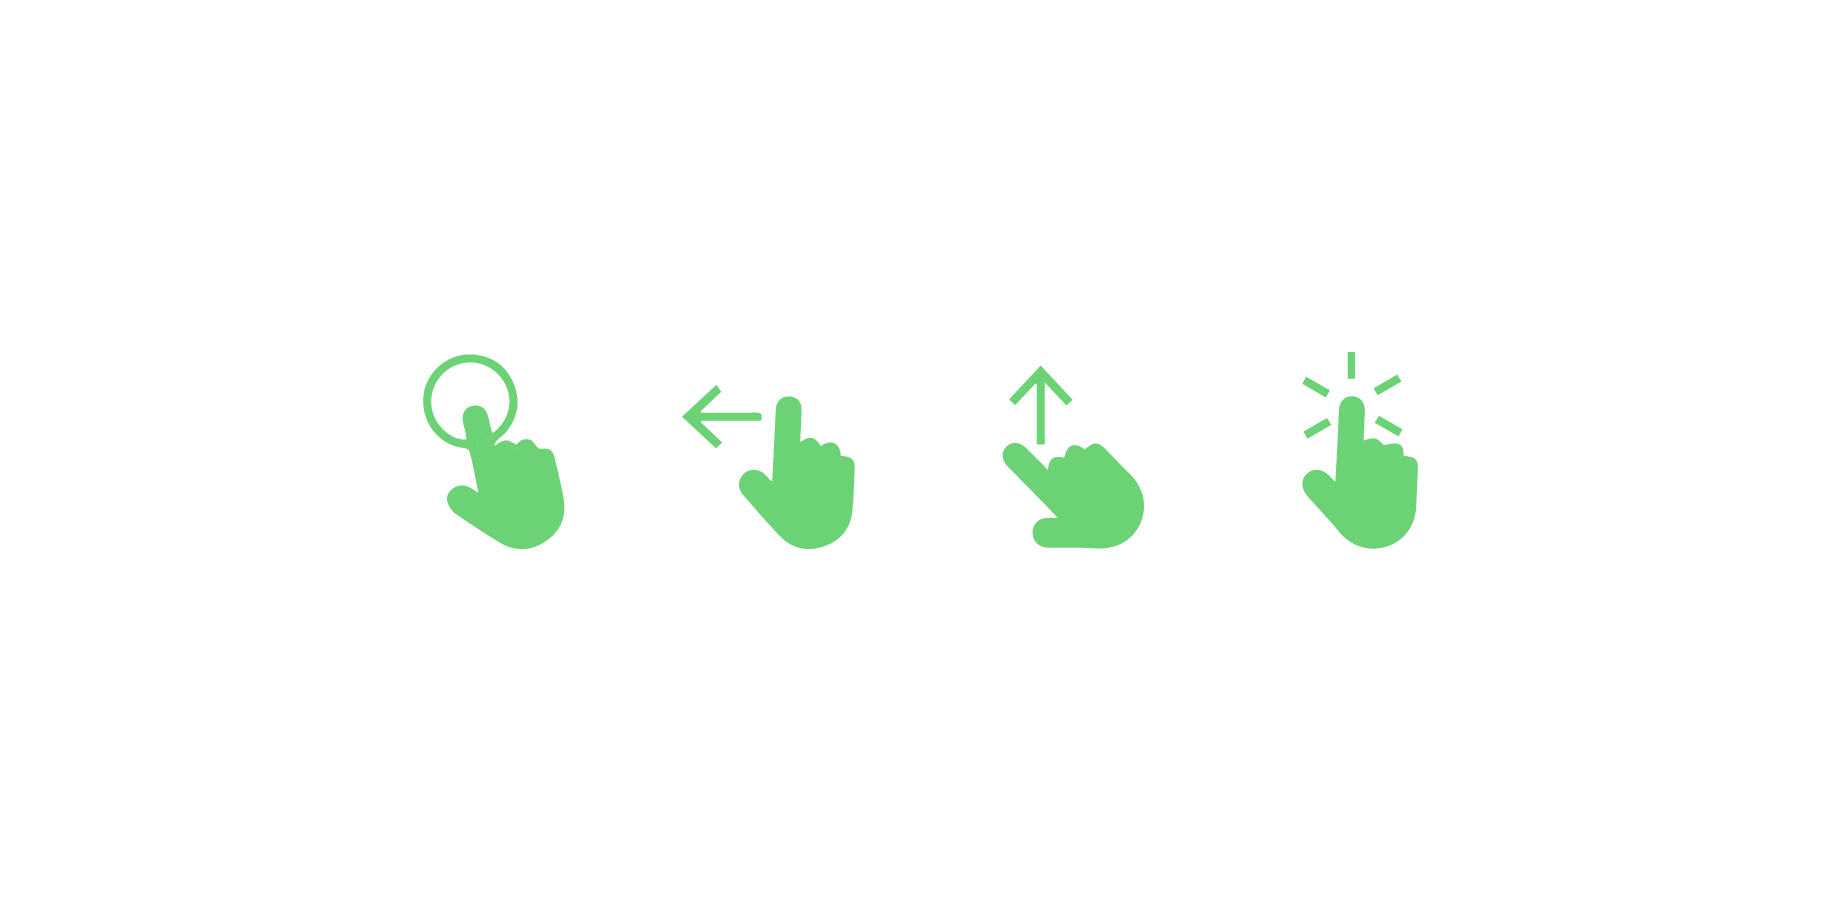
By Lærke Lyhne. Tap, double tap, pinch, swipe, scroll, press and hold, drag, and fling – these are all mobile navigation interactions referred to as ‘touch gestures’.
Subtle hand gestures on the screen have become an integrated part of how we use and navigate apps today. Since 2017, when Apple introduced its iPhone X, which sacrificed the home button and made real use of gestures for navigation, each new generation of smartphones has replaced more software buttons with so-called gestures. As a result, navigating using gestures has become second nature to many users.
Touch gestures, generally speaking, can be divided into three main categories:
Navigation
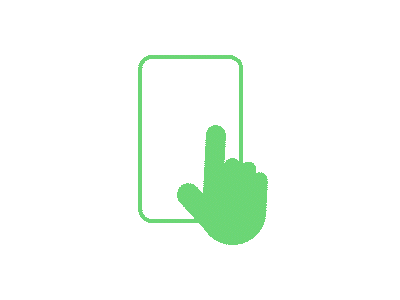
Allows the user to navigate an app easily and conveniently. Swipe back and forth between pages, swipe up from the bottom of the screen, etc.
Action
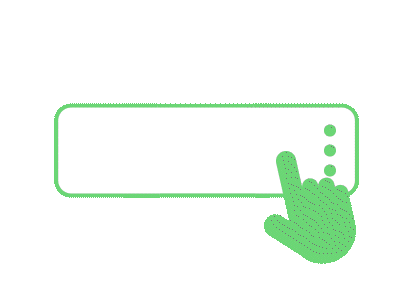
Allows the user to complete an action. Take the Coop app as an example – its ‘pay’ button is activated with a swipe.

Transform
Allows the user to change the size, position, or rotation of an object, for instance by using pinch to zoom out on a map.

What does the user expect?
Failing to support the most common interactions in the operating systems of various platforms can be problematic. Let’s use the ‘go back’ functionality on iOS and Android, respectively, as an example:
An iPhone user is always going to expect that they can swipe from left to right to go back to the previous page. An Android user, however, is going to use the integrated ‘go back’ button at the bottom of their screen. So who really needs a ‘go back’ button located so high up on the screen that it’s almost impossible to reach it with your thumb? Why wouldn’t it just be ignored, and simply replaced by swipe?
As such, it’s a good idea to meet users’ expectations by allowing them to use the basic navigation gestures they are already familiar with. It’s important to keep up with current standards, and it’s crucial that gesture-based interactions are used intuitively to ensure that users understand how they work. If done right, the result will be a well-functioning app that is more likely to be enjoyed by its users.
A cleaner look – but careful now!
Gestures can make your app design simpler, less cluttered, and overall nicer-looking. Using gestures, you can leave out some of the usual visible buttons and, as such, free up valuable screen space for other purposes. But think twice – because less is not always more. Worst case, the user-friendliness of your app can be negatively impacted if the user doesn’t fully understand how to use it.
Don’t try to reinvent the wheel by coming up with new gestures for actions that already have established standard gestures. Always design following users’ expectations to avoid unnecessary confusion.
If you’re still defining a new gesture, if you’re creating a game, for example, it is important to teach the user how to make use of it. Spell it out, ideally with animations that illustrate how the gesture works in practice.
Shortcut to faster execution
Gestures can advantageously be used as shortcuts to perform an action faster than by tapping a button in the interface. The button will still be visually present on the screen, but the same action can also be completed with a simple hand movement across the screen. Teach your users that the gesture exists by simulating a movement when they tap the button. A box can, for instance, move to the side as if you had swiped it to one side with your finger.
This way, you can ensure that your users don’t end up getting lost when using your app. Moreover, you’ll accommodate the super users, who can make faster and more efficient use of your app.
One step further – beyond on-screen gestures
Mostly, gestures involve hand movements on your touchscreen, but shaking, tilting, or physically moving your phone can also be used as navigation gestures.
Apple’s mail app, for example, allows users to shake their phone in order to undo an action if they have, say, deleted an email by mistake.
Tilting and moving the phone is mostly used in games, where you can for example tilt the phone to make a ball roll around the screen as if it were a ball on a real surface.
Play it safe
Gestures can help make navigating your app a smoother experience. But remember, since gestures are invisible interactions, the user won’t necessarily be aware of them in advance. As such, it’s important that you only use gestures as a complement to visible interaction elements on the screen, or as shortcuts for faster execution of said interactive steps.
Unless your app is a game, you would be wise to stick to well-known standard gestures and adapt them to suit your user – regardless of whether they use iOS or Android.
Vill du veta mer?
Låt oss få magi att hända och skapa en app du kommer att älska.
Berätta om ditt projekt.


